
It’s been a little while since I’ve been doing hardware things. Lately, I’ve been fighting with openCV which so far has been an absolute nightmare but I have been slowly making progress. CV frustrated me enough that I’ve decided to take a little break and play with some microcontrollers.

Why CV? WHY ARE YOU BEING SO DIFFICULT??
I bought a PIC32 starter kit which used a PIC32MX360F512L. It’s a nice little unit that comes with 3 LEDs and buttons. To my dismay however, I found that I would need to buy a break-out board to take advantage of all the pins. Come on Microchip, when I can buy the ST Discovery board with an accelerometer, magnetometer AND pins broken out onto headers right on the board for way less than the PIC starter kit, I’m sure you can at least oblige to break out a few pins. Luckily, Digikey does sell a break-out board for the starter kit that mates with the connector on the starter kit.
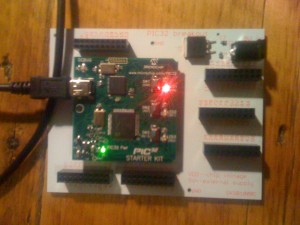
Above is a picture of the starter kit (green board) attached to the white break out board (BOB). The BOB doesn’t come with headers so you’ll have to buy them separately. I use the 20-pin female headers.
Hmm…The picture could use a bit more pizzazz.
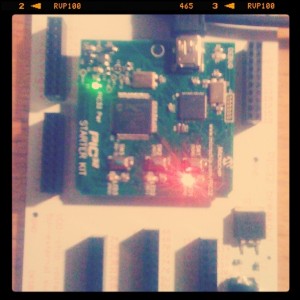
BAM! Gotta love Instagram…
There’s one nuisance with the BOB. It turns out that the numbers printed on the BOB don’t correspond directly to the pin numbers on the microcontroller. That really made the debugging process frustrating. For example, a UART Transmit pin would be pin# 51 on the uC while on the BOB it would be header #90. Arrrggghh! If you have bought the Digikey BOB, I have made a pin mapping spreadsheet found here.
WHY BREAK OUT BOARD?? WHY??
Despite the BOB mishap, I found working with the PIC32 pretty straight forward after a long read-through of the datasheet. I will be using this guy for a proof of concept project which will make its way here soon.